Creating a 3D skeleton model is a fun and educational way to learn about human anatomy. Whether it’s for a school project or a home activity, making a skeleton helps students understand the structure and function of bones in the body. With simple materials and some creativity, you can build a realistic-looking model.
- Gather Your Materials
Start by collecting the items you need. These may include white cardboard or stiff paper, glue, scissors, string, tape, a pencil, and markers. You can also use materials like drinking straws, cotton buds, or craft sticks to represent bones.
- Study a Skeleton Diagram
Before you begin building, look at a diagram of the human skeleton. Identify the main parts: skull, spine, ribs, arms, hands, legs, and feet. This will help you know what to include and how to position the bones. - Sketch and Cut Out the Bones
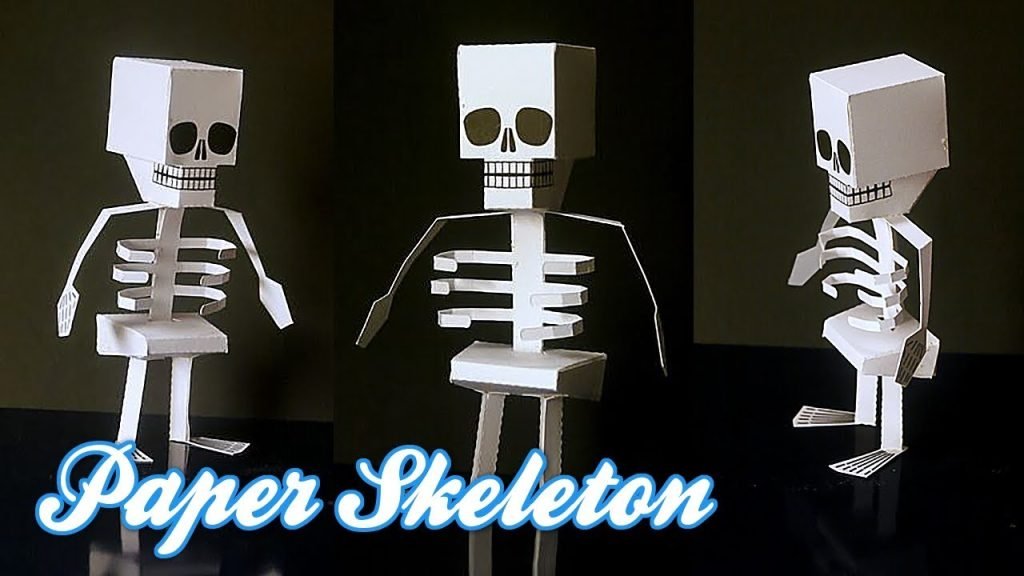
On white cardboard, draw the shapes of each major bone. Make sure the sizes match their actual proportions—for example, the thigh bone should be longer than the upper arm bone. Once drawn, cut them out carefully with scissors. - Build the Skull and Ribcage
The skull can be made from a large oval shape with cutouts for the eyes and mouth. For the ribcage, draw and cut thin curved strips for ribs and attach them to a central piece representing the spine. You can use glue or tape to hold them together. - Assemble the Arms and Legs
Use longer pieces for the limbs. The upper arm and thigh should be thicker than the lower parts. Attach joints using paper fasteners, string, or tape to allow movement. For fingers and toes, you can use cotton buds or matchsticks. - Connect All the Parts
Attach the limbs to the ribcage and spine. Make sure the body stands upright or can lie flat neatly. Use extra support like cardboard backing if needed. Make sure the head sits securely on the neck and is balanced. - Add Finishing Touches
Label each bone clearly using a marker or small paper tags. You can color the bones slightly or add shading to give it a more realistic look. If it’s for a display, mount the skeleton on a cardboard background. - Test and Display
Check if all parts are secure and the skeleton is complete. Place it in a standing frame or hang it using string for a 3D effect. It’s now ready to be presented.
Also Read: How To Grow Strawberries In Pots